
How to Clear System Data Storage on Mac
AskClean Team · Updated 2026-08-28
System Data is the catch-all storage category on your Mac that holds APFS local snapshots, caches, logs, and old device backups. On most Macs the single biggest slice is Time Machine's local snapshots, which is why emptying the Trash barely moves the number. This guide starts by measuring what is actually inside, then clears each part in order of payoff — safely, without touching your documents.
Interactive diagnosis
What is most likely filling your System Data?
Answer a few questions. This does not scan your Mac; it gives you a prioritized checklist with verification steps and clear deletion boundaries.
Your answers stay in this browser and are not uploaded.
What is "System Data" on Mac?
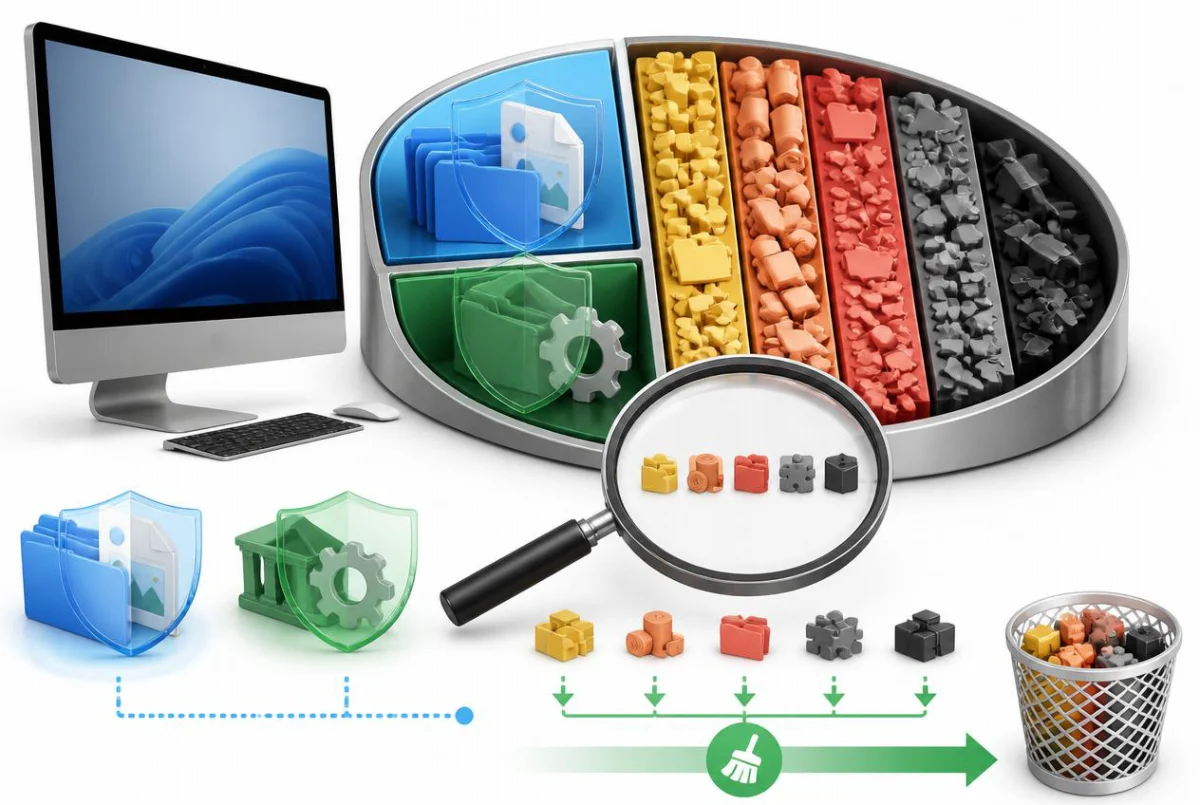
System Data (called "Other" on older versions of macOS) is the bucket in your Mac's storage chart for everything macOS cannot sort into a named category like Apps, Photos, Documents, or Music. It is not one folder you can open — it is a running total of APFS local snapshots, app caches, system and app logs, temporary files, virtual-memory swap files, old device backups, and browser data scattered across your disk.
Because it is a catch-all, System Data behaves differently from other categories: it grows quietly in the background as snapshots accumulate, apps cache data, and logs pile up, and macOS never shows you an itemized list of what is inside. That is why it routinely reaches 30, 50, or even 100+ GB, and why it feels impossible to shrink from the Storage screen alone.
The good news is that most of what lives in System Data is regenerable. Caches get rebuilt the next time an app needs them, swap files are managed automatically by macOS, and local snapshots are thinned by the system when disk space runs low. The parts worth clearing manually are the ones macOS is slow to touch on its own: local snapshots you no longer need, stale app caches, old logs, and forgotten iOS device backups.
First, understand "purgeable" space
Before you delete anything, this one concept explains the most common frustration with System Data: you delete 20 GB of files, empty the Trash, and available space barely changes — or changes and then changes back.
macOS counts certain data as purgeable: space that is technically occupied but that the system can reclaim on demand. APFS local snapshots, regenerable caches, and files already uploaded to iCloud all fall into this bucket. Finder's "available" figure often includes purgeable space, so it can look like you have more room than you do — and conversely, deleting a file that is captured inside a snapshot frees nothing until that snapshot goes.
This is also why the same Mac reports different numbers in different places. To see the real split, open Terminal and run diskutil info / — the output separates the volume's free space from the purgeable portion. If purgeable is large, snapshots are almost always the reason, which is the next section.
Practical consequence: if you need free space right now for an installer or an update, deleting files may not be enough. Clearing snapshots is the step that actually returns space immediately.
Delete APFS local snapshots (usually the biggest win)
Time Machine does not only write to your external drive. It also keeps hourly APFS local snapshots on your startup disk so you can restore recent versions without the backup drive attached. Each snapshot pins the state of your files at that moment — including files you have since deleted — and they are all counted inside System Data. On a Mac that has churned through a lot of data, snapshots alone can account for 20 to 100+ GB.
You can see them in Disk Utility: select your data volume in the sidebar, then choose View > Show APFS Snapshots. The list shows each snapshot with its creation date and size. Terminal gives you the same picture with tmutil listlocalsnapshots / and lets you act on it precisely.
The trade-off is straightforward: deleting local snapshots removes your ability to restore recent file versions without the external backup drive. Your Time Machine backups on the external drive are not affected. So if your backup drive is current, clearing local snapshots costs you very little; if you have not connected it in weeks, connect it and let a backup finish first.
- Open Terminal and run tmutil listlocalsnapshots / to list every local snapshot with its timestamp.
- To let macOS reclaim space for you, run sudo tmutil thinlocalsnapshots / 21474836480 4 — that asks it to free roughly 20 GB (adjust the byte count as needed) at the highest urgency, deleting oldest snapshots first.
- To remove one specific snapshot instead, run sudo tmutil deletelocalsnapshots followed by the timestamp exactly as it was listed.
- Re-run diskutil info / to confirm the purgeable figure dropped and free space actually increased.
- If you want snapshots to stop accumulating, open System Settings > General > Time Machine > Options and turn off "Back up automatically" — but only if you have another backup in place.
Do not touch the snapshot shown for the read-only System volume. It is signed and sealed by Apple and macOS boots from it — it is unrelated to Time Machine and cannot be deleted. Only snapshots on your Data volume are yours to manage.
Boot into Safe Mode to clear system caches
Safe Mode is the Apple-sanctioned way to make macOS clear caches it will not let you delete by hand. Starting up in Safe Mode runs a directory check and purges several system caches, which macOS then rebuilds as needed. It frequently frees a few gigabytes on its own and is the safest step in this entire guide, because you delete nothing yourself.
It is particularly useful when you need space for a macOS update that is refusing to install: the freed space may only last until the caches rebuild, but that window is often enough to complete the task.
On an Apple Silicon Mac, shut down, then press and hold the power button until "Loading startup options" appears, select your startup disk, hold Shift, and click "Continue in Safe Mode". On an Intel Mac, restart and hold Shift until the login window appears. To leave Safe Mode, just restart normally.
Clear caches and logs safely
Caches exist to make apps faster, so deleting them is safe by design: an app that finds its cache missing simply rebuilds it. The trade-off is that the first launch after clearing may be slightly slower while the cache repopulates. Logs are even lower risk — they are diagnostic text files you will almost never need unless you are troubleshooting a specific problem.
The one rule that matters: delete the contents of a cache folder, not the folder itself, and always quit the app first. An app writing to its cache while you delete it can end up in a confused state, and some apps expect their named cache folder to exist even when empty.
- Quit every app whose cache you plan to clear — use Command-Q, not just closing the window. For browser caches, it is easier to use the browser's own clear-data feature instead.
- In Finder, press Command-Shift-G, type ~/Library/Caches and press Return. Choose View > As List, click the Size column, and press Command-J to enable "Calculate all sizes" so you can see which folders are actually large.
- Open one of the large folders, select its contents with Command-A, and move them to the Trash with Command-Delete. Work through the largest folders one at a time rather than deleting everything at once — if an app misbehaves afterward, you will know exactly which cache was responsible.
- Repeat with /Library/Caches (no tilde) for system-wide caches, and ~/Library/Logs for log folders taking real space. Old .log files and crash reports can be trashed without consequence.
- Empty the Trash when you are done — until you do, the files still count against your disk, and the System Data number will not move.
Avoid deleting anything inside /System or /private unless you know exactly what it is. macOS manages those areas itself, and the space they use is not worth the risk of guessing.
Delete old iOS backups and large files
Local iPhone and iPad backups are a classic System Data surprise: a single device backup can be 5-20 GB, and if you have backed up more than one device — or an old phone you no longer own — the copies just sit there forever. macOS stores them in ~/Library/Application Support/MobileSync/Backup, but do not delete them from Finder by hand; use the built-in manager so the backup index stays consistent.
To review backups, connect a device (or just open a Finder window), select the device in Finder's sidebar, and click Manage Backups. You will see every stored backup with its date — delete any backup for a device you no longer have, or any backup older than one you have since made in iCloud.
Beyond backups, sweep for large files you have simply forgotten about. Sort your Downloads folder by size and clear old installers and disk images (.dmg, .pkg, .zip files are pure dead weight once installed). The Storage screen in System Settings also offers built-in recommendations — Store in iCloud, Optimize Storage, and Empty Trash Automatically — which Apple documents in its storage support guide.
Check what's inside the rest of System Data
Once snapshots, caches, and backups are handled, what remains is usually specific to how you use the Mac. Development tools are the most common heavyweight: Xcode's build products, simulator runtimes, and package-manager download caches can add tens of gigabytes, and none of it is visible from the Storage screen.
Those categories have their own deletion boundaries — what rebuilds for free, what costs a long re-download, and what cannot be recovered at all — so they are covered separately rather than summarized here.
When to use a cleanup tool
Manual cleanup works, but it has two honest costs: it takes an hour of poking through Library folders and Terminal, and you are the one deciding whether each mysterious multi-gigabyte folder is safe to remove. If you would rather not make those calls blind, a cleanup tool that explains what it finds is the sensible middle ground.
AskClean was built for exactly that problem. One scan maps your disk into 12 categories — system caches and logs, browser caches, Xcode DerivedData, old simulator runtimes, AI model caches, package-manager caches, app leftovers, large downloads, and more — and its AI explains each item before you delete: what it is, whether it can be rebuilt, and what deleting would cost you.
What it deliberately does not do is touch your APFS snapshots. Snapshots are your local restore points, and deleting them is a judgement call about your own backup situation — not something a tool should decide for you in a batch. Use the tmutil steps above for those, and let AskClean handle the categories where "safe to delete" has a factual answer. Everything it removes goes to the Trash so you can restore it, nothing runs until you confirm each item, and your documents, photo library, and system files are never touched.
FAQ
Is it safe to delete System Data?
You cannot delete "System Data" as a whole — it is a reporting category, not a folder. But its largest ingredients are safe to remove individually: app caches and logs get rebuilt, old iOS backups are replaceable if you have a current backup elsewhere, and APFS local snapshots only cost you the ability to restore recent versions without your external Time Machine drive. Stick to the paths in this guide, move things to the Trash rather than deleting permanently, and leave /System and /private alone.
Why is my System Data so large?
On most Macs the answer is APFS local snapshots — Time Machine keeps hourly snapshots on your startup disk, and they pin deleted files in place. After that, the usual contributors are local iPhone backups (5-20 GB each), accumulated app caches, and on development machines Xcode's build products and simulator runtimes. Video editors and messaging apps with years of cached media are also common.
I deleted a lot of files but free space did not change. Why?
Almost always because the deleted files are still captured inside an APFS local snapshot, so the space is reported as purgeable rather than free. Run diskutil info / to see the purgeable figure, then clear snapshots with tmutil as described above. The same effect happens with files stored in iCloud, which macOS may keep locally until it needs the space.
Does restarting my Mac help reduce System Data?
A little, and it is worth doing first. A restart clears virtual-memory swap files and temporary folders, which can free several gigabytes instantly. Booting into Safe Mode goes further and purges system caches macOS will not let you delete by hand. Neither touches snapshots, backups, or app caches — those need the manual steps in this guide.
How much space can I actually free up?
It depends entirely on your Mac. Measure first: run diskutil info / for the purgeable figure and tmutil listlocalsnapshots / for snapshot count, then check your largest cache and backup locations. Change one category, measure again. A lightly used Mac with a current backup may recover little; a Mac that has not seen its backup drive in a month often has tens of gigabytes in snapshots alone.
Will macOS clear System Data by itself?
Partially, and only under pressure. macOS thins local snapshots and manages swap files automatically when free space runs low — which is why the number sometimes drops on its own. It never proactively clears app caches, old logs, iOS backups, or developer files; those keep growing until you or a cleanup tool remove them.
Sources